Tortitas esponjosas de plátano sin gluten con avena y sirope de arce

Fluffy Gluten-Free Banana Pancakes with Oats and Maple Syrup

Servings

4

Prep Time

10 minutes

Cook Time

10 minutes

Calories

208

Cuisine

American

Category

Breakfast

If you think going gluten-free means giving up comfort food classics, these banana oat pancakes will prove otherwise. Soft, fluffy, and naturally sweetened with ripe bananas, these pancakes are made without refined flour or added sugar—just simple ingredients blended into a quick, wholesome batter.


 Using oats as the base, they’re hearty and satisfying while remaining light and tender. Whether you're gluten-sensitive, coeliac, or just trying to eat clean, these are the pancakes you'll make on repeat.


Best of all, they come together in a blender, making cleanup a breeze. Customise them with cinnamon, blueberries, or even a handful of chocolate chips. Stack them high, drizzle with warm maple syrup, and add fresh fruit on top for a nourishing breakfast that feels like a treat. 


They're kid-approved, freezer-friendly, and endlessly delicious. Gluten-free or not, you’ll love every bite.

Fluffy Gluten-Free Banana Pancakes with Oats and Maple Syrup

Ingredients

  • 2 ripe bananas, mashed

  • 2 large eggs

  • 1/2 cup unsweetened almond milk (or milk of choice)

  • 1 teaspoon vanilla extract

  • 1 cup gluten-free rolled oats

  • 1/2 teaspoon baking powder

  • 1/2 teaspoon cinnamon

  • Pinch of salt

  • Butter, coconut oil, or cooking spray for the pan

Directions

  1. In a blender, combine mashed bananas, eggs, almond milk, and vanilla extract. Blend until smooth.

  2. Add the oats, baking powder, cinnamon, and salt to the blender. Blend again until the mixture is thick and smooth. Let the batter rest for 5 minutes to thicken.

  3. Heat a non-stick skillet or griddle over medium heat and lightly grease with butter or oil.

  4. Pour 1/4 cup of batter per pancake onto the hot skillet.

  5. Cook for 2–3 minutes, or until bubbles form on top and edges are set. Flip and cook for another 1–2 minutes until golden and cooked through.

  6. Serve warm with maple syrup, sliced bananas, berries, or nut butter.

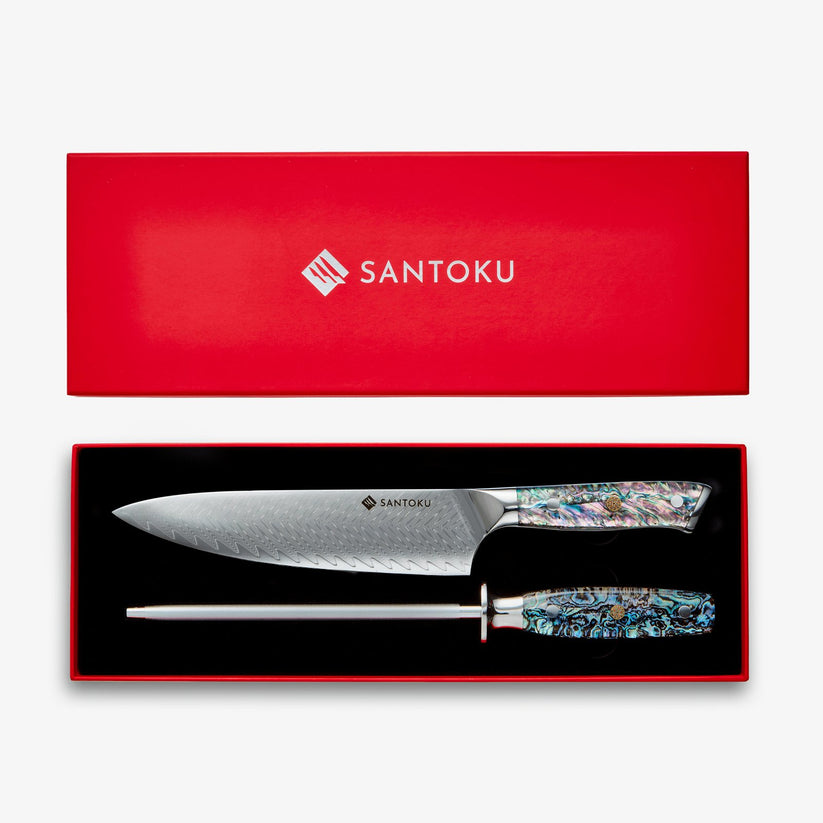
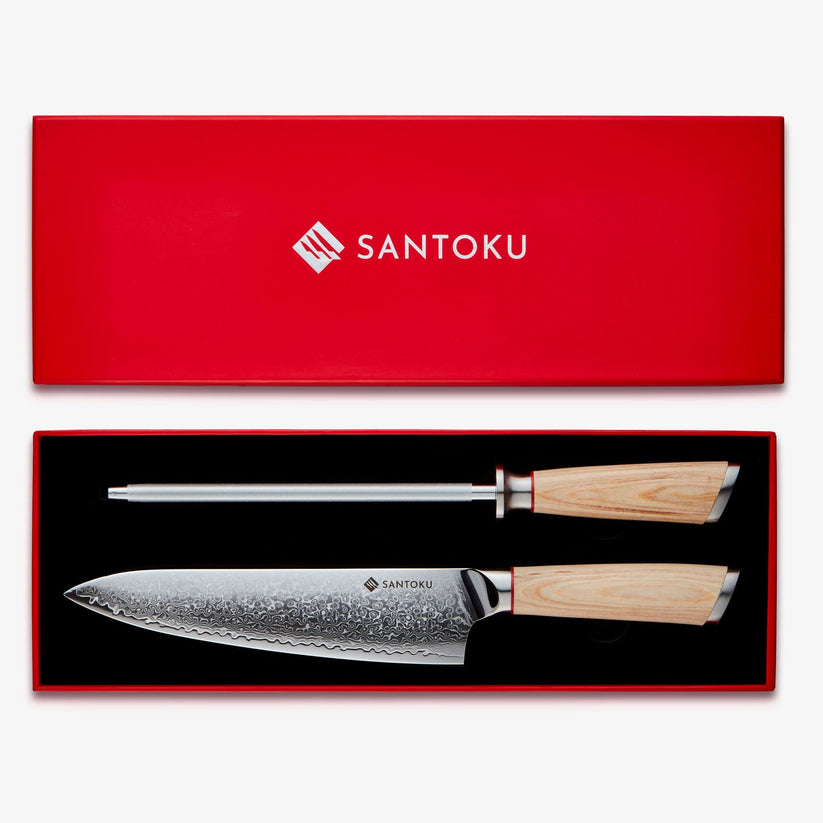
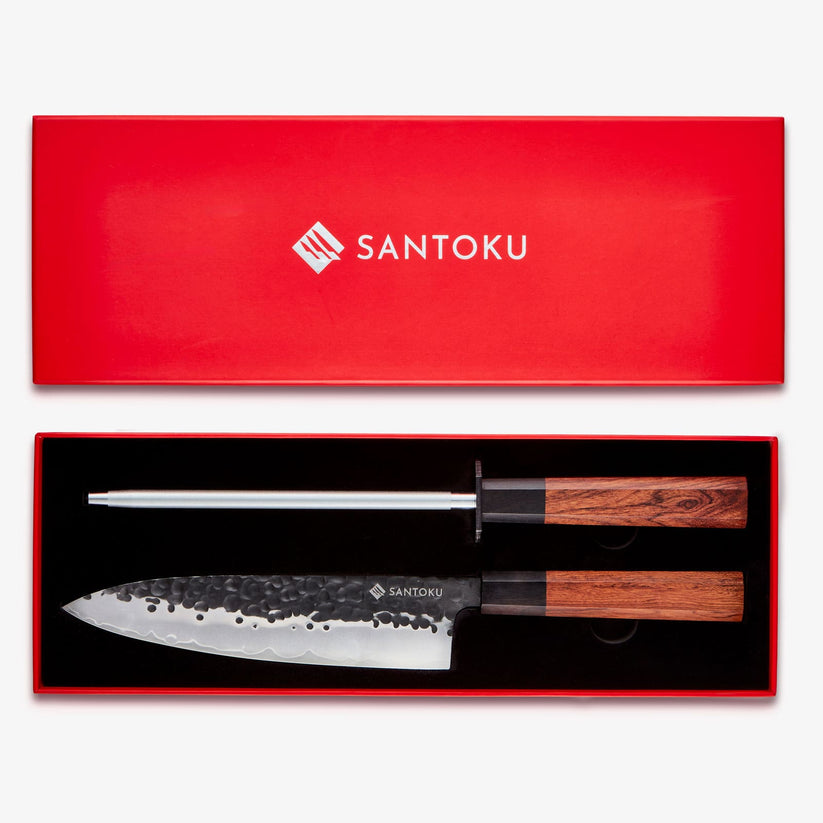
Upgrade Your Kitchen Tools

Make recipe prep easier with professional-grade knives

Browse Collection

10 consejos para hacer panqueques sin gluten

  1. Utilice avena certificada sin gluten para evitar la contaminación cruzada.

  2. Deje reposar la masa 5 minutos para que espese antes de cocinarla.

  3. Licue hasta que quede suave, pero no mezcle demasiado, solo hasta que la avena se descomponga.

  4. Cocine a fuego medio para evitar que se queme antes de cocinar.

  5. Utilice un ligero engrase de la sartén para evitar que se pegue.

  6. Voltee suavemente una vez que se formen burbujas y los bordes estén firmes.

  7. Agregue arándanos, nueces o chispas de chocolate para variar.

  8. Congele las sobras con papel pergamino entre los panqueques para preparar comidas fáciles de llevar.

  9. Vuelva a calentar en una tostadora o sartén seca para obtener una mejor textura.

  10. Sirva con mantequilla de nueces, yogur o fruta fresca para un desayuno equilibrado.


Sírvelo con sugerencias

  • Jarabe de arce o un chorrito de miel

  • Bayas frescas o plátano en rodajas

  • Una cucharada de yogur griego o yogur de coco

  • Espolvorear canela o nueces picadas

  • Taza de café negro o chai latte


Preguntas frecuentes

P: ¿Estos panqueques son 100% libres de gluten?
R: Sí, si utiliza avena certificada sin gluten, esta receta no contiene gluten.

P: ¿Puedo hacerlos veganos?
R: ¡Sí! Reemplace los huevos con huevos de lino y use leche de origen vegetal.

P: ¿Puedo guardar la masa?
R: Es mejor usarlo fresco, pero puedes refrigerarlo hasta por 24 horas.

P: ¿Necesito usar una licuadora?
R: Una licuadora proporciona la textura más suave, pero también puedes mezclar bien a mano si usas harina de avena.

P: ¿Puedo usar avena rápida en lugar de copos de avena?
R: Sí, pero reduce el tiempo de licuado: absorben el líquido más rápido.

Chef's Recommendation

"A sharp knife is your best friend in the kitchen. For recipes like this, I always reach for my Chikashi chef knife - it gives me the control and precision I need for perfect results every time."
Chef's Note: A sharp knife not only makes prep work faster but also safer - dull knives require more pressure and are more likely to slip.

Discover why our Japanese-style knife sets are trusted by home cooks and professionals alike.

Shop Professional Knives →
Volver al blog